
As I mentioned in my previous post, I’ve been feeling somewhat in need of a change, and have been experimenting with a new medium: paper clay.
Thought I’d share some images from my first try at using it. Overall, I’m enjoying experimenting with the medium. The technique I’m trying is from a wonderful book titled Artful Paper Clay, by Rogene Manas (available on Amazon). If you’re thinking of trying your hand at adding some dimension to your art, I highly recommend it. The author, a talented mixed media artist, very generously shares her knowledge and skill, and I’m grateful for her crystal clear step by step instructions and tips.
So, of course, I enthusiastically jumped in the deep end, and came up with a far-too-complicated design…
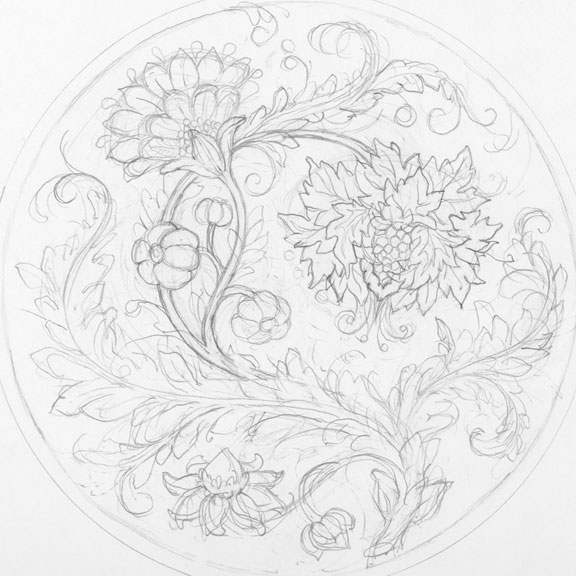
which I then simplified (a lot!) so it would fit onto an 8″ X 8″ cradled wood panel:
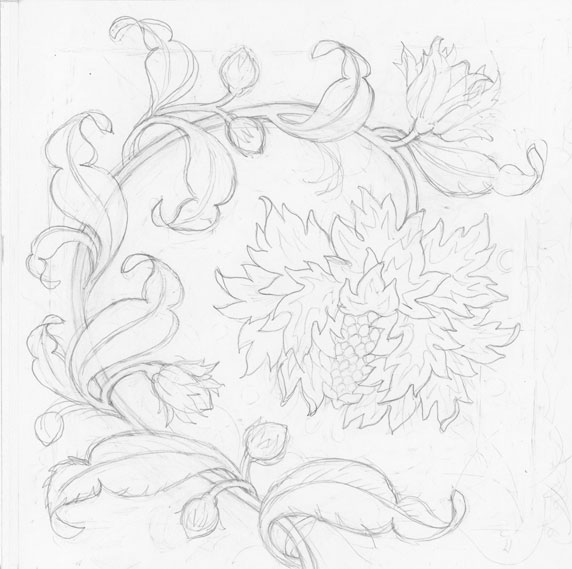
After transferring the drawing to the panel using graphite paper, the fun of actual sculpting began:
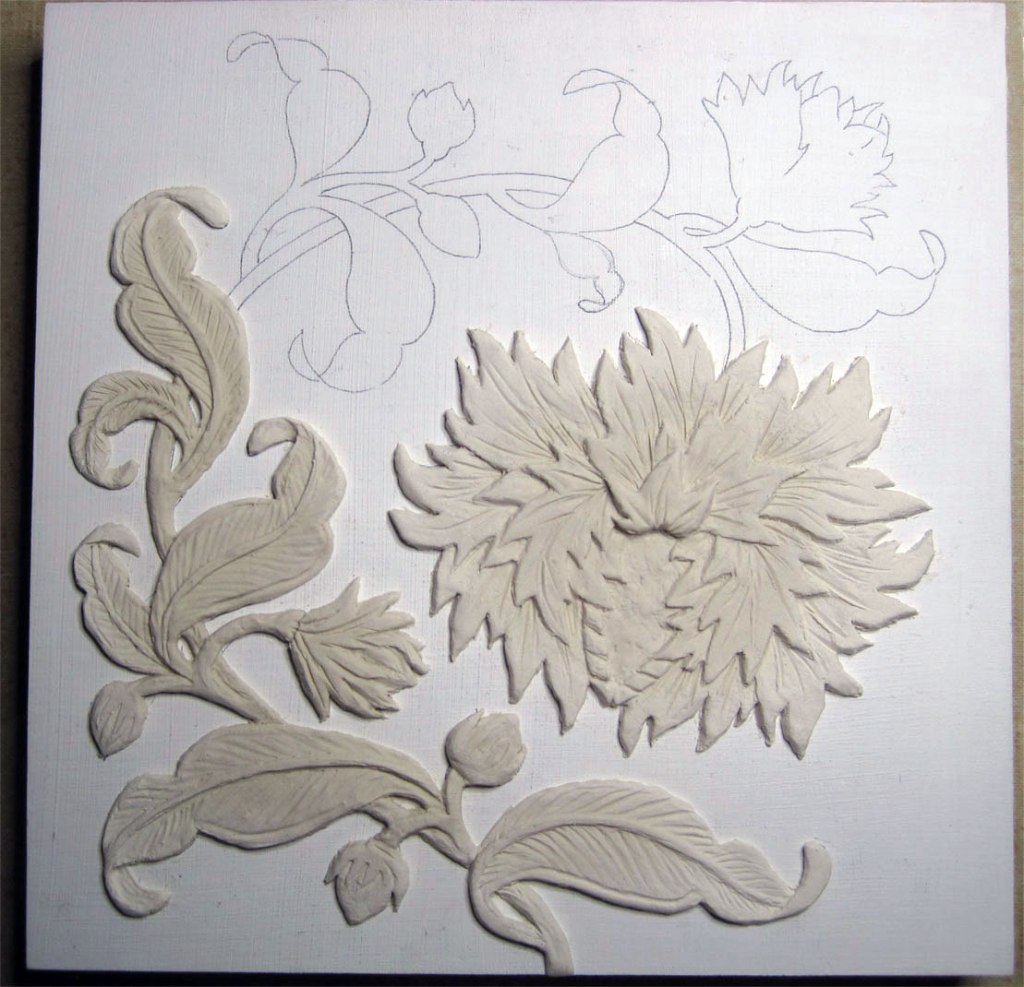
The clay (Creative Paperclay brand, available on Amazon) is a beige color which dries white. Right out of the package, it was almost the perfect consistency. The clay needs to be soft enough to be worked (wedged to remove air bubbles), but solid enough to be rolled and hold it’s shape.
The piece was ‘built’ a section at a time. The places where the main stem meets the edges of the leaves are natural divisions. Making one solid mass of rolled clay, and then carving out the design is not an option for my (at this point) rudimentary skills. This clay lends itself to ‘adding to’ rather than ‘subtracting from’. It is designed for flexibility, thank goodness! In the image below, you can see that I added a small leaf (darker brown color), and the ‘seeds’ in the large flower’s center after the rest of the piece dried a of couple of extra days.
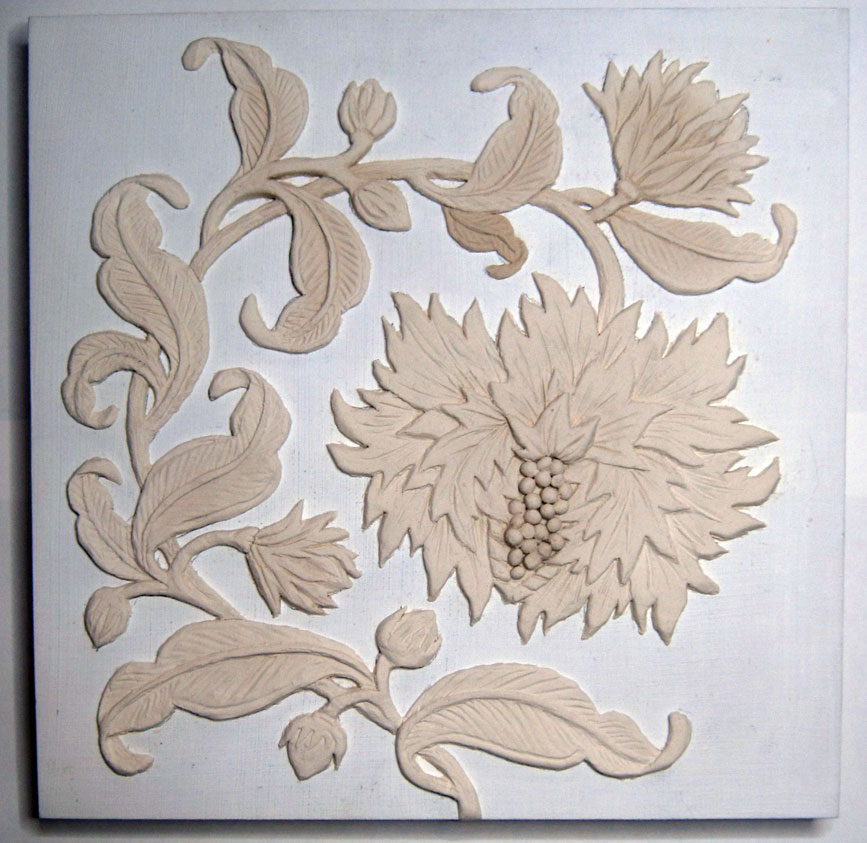
This type of clay work is called relief sculpture. My project would be classified as low-relief (bas-relief) since the clay is less than 1/4″ at its thickest. The clay I’m using must dry slowly in order to avoid excessive cracking. It remains workable for a few days if moistened judiciously with a water mist, and kept covered with plastic when not being worked. A definite plus is that it can easily be “mended” if it does crack.
I’ve got a lot to learn about finessing this stuff. The paper fibers in the clay base make it challenging to do tight detail, and to get a smooth finish. But it also adds tensile strength without adding weight… hopefully, it also helps the clay adhere to the substrate tightly. We’ll see how the design holds up to sealing and painting. It will be interesting to see how long it takes for the piece to dry completely.
So far, so good! More soon I hope.
I’d love to hear from anyone who has tried paper clay. What do you find most challenging about the medium? And what do you like about it?


Leave a Reply